I'm having a great time sewing along with
Kathleen of Kathleen McMusing in making Awesome Ocean using Elizabeth Hartman's pattern. Today I'm pleased to guest host for the Tony the Turtle block and offer my tips and ticks, which really means tell you where I had problems so that you don't make the same mistakes I did. 🙂
One of the trademarks of Elizabeth Hartman's patterns is lots of tiny pieces, many with very similar measurements to each other. I use a notion that is new to me to keep my pieces straight: Quilt Block Markers by
Purple Hobbies. They are letters (& numbers) with a small hole in them so you can string them through a pin. I start each block by figuring out which letters are in that block, then I lay them all out and put the rest away. This acts kind of like a checklist--as long as I have letters still out, I know I haven't cut those pieces.
 |
| Quilt Block Markers by Purple Hobbies |
I didn't get a full count of how long it took me to do the cutting. I know I did it in two sessions; I frequently only get a few minutes at a time in the sewing room.
 |
| pieces cut out |
Tip #1: pieces B & D are the same. You need a total of 5 for each turtle. I'm not sure why they aren't under one letter in the pattern.
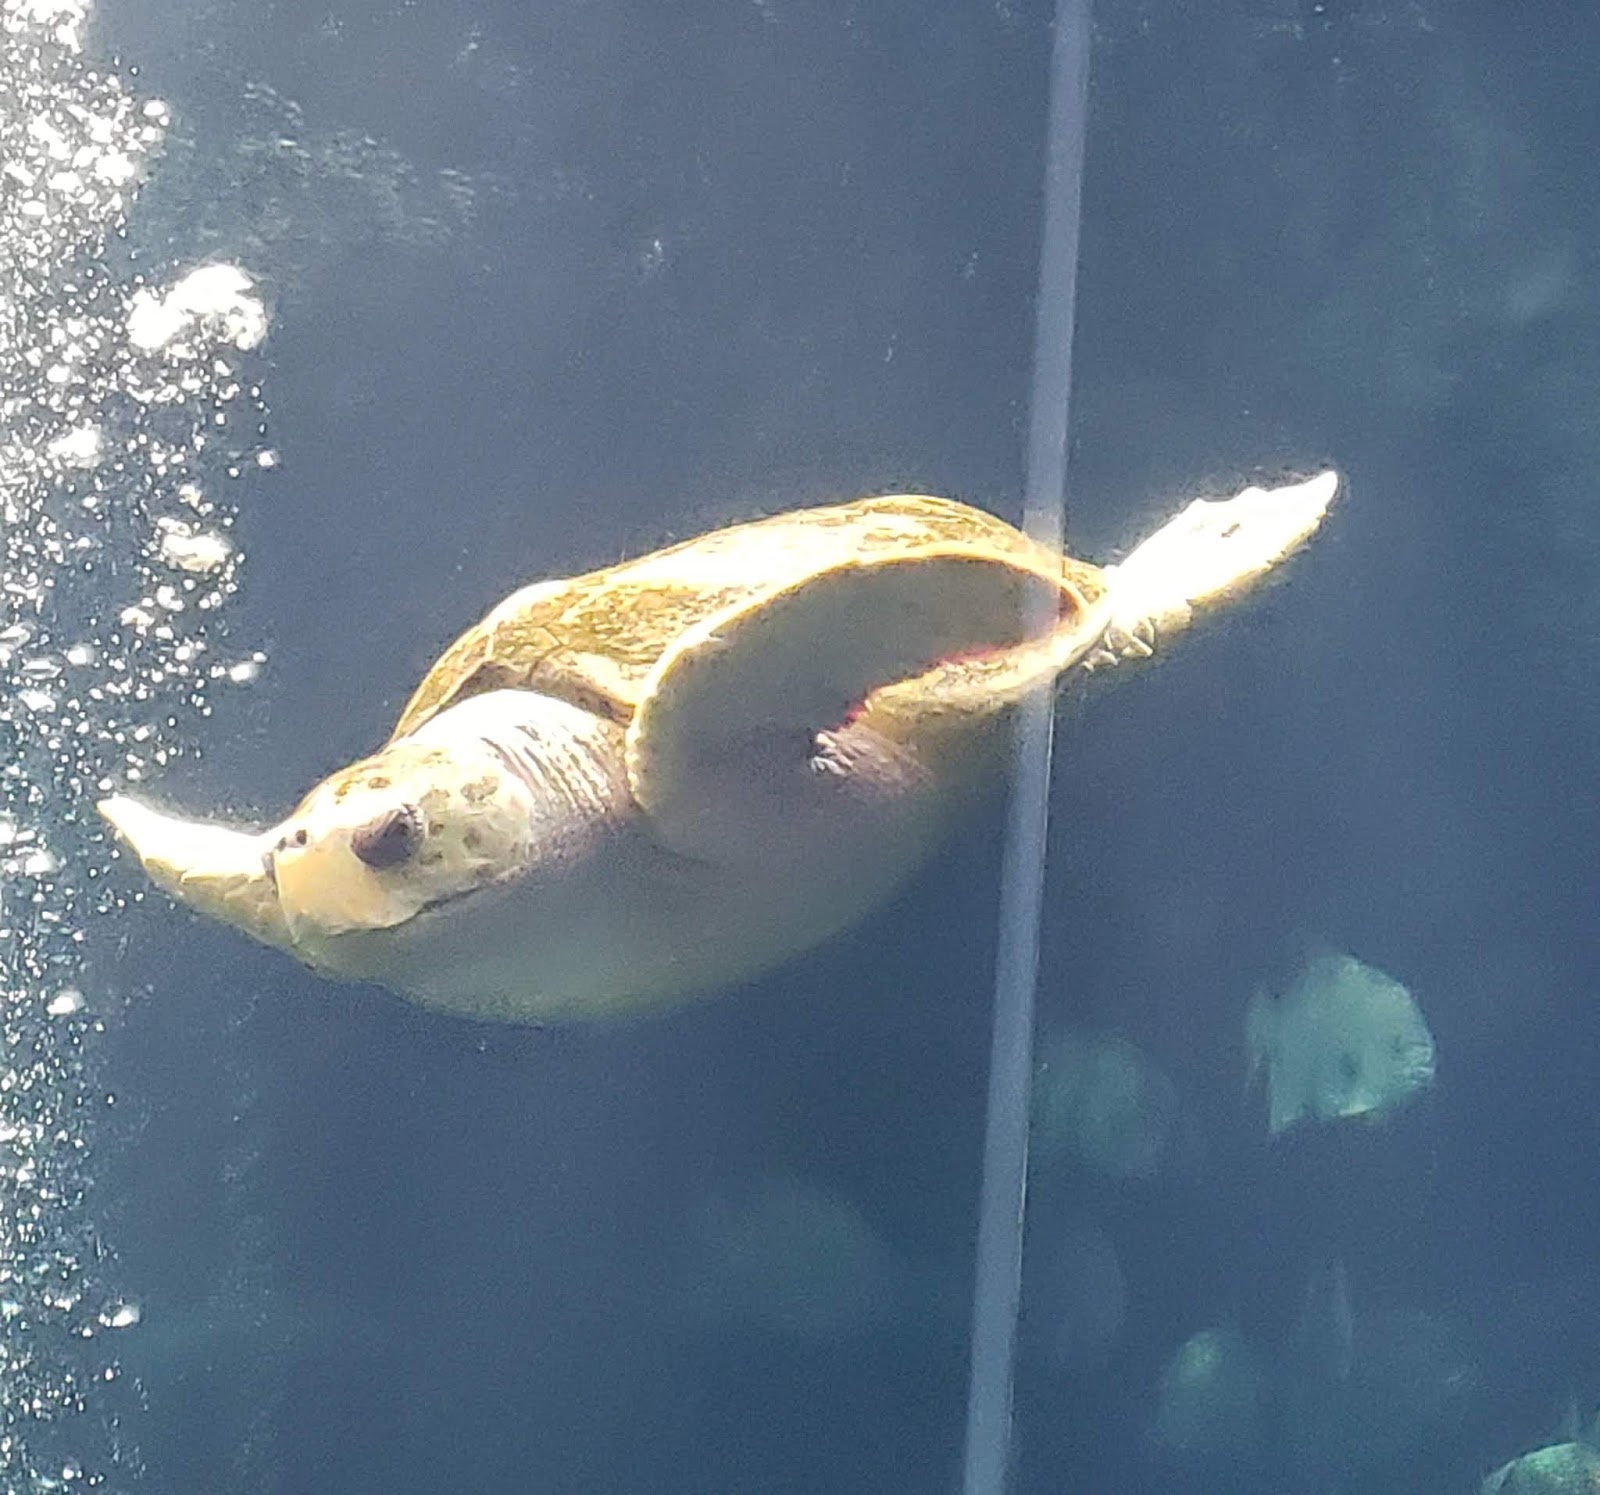
 |
| Coretta |
Over the winter holiday, my family spent two days in Charleston. One of the things we did there was visit the South Carolina Aquarium. I enjoyed watching Coretta, their sea turtle. I noticed that Coretta's shell was pretty much all one color, so I decided to try some turtles without the pieced shell. The pattern tells you how big the pieced section should be; if you want to try a solid shell, just cut a piece that size and don't cut pieces F & G. I spent 25 minutes piecing the shells for two turtles (time includes ripping and re-sewing one seam). Honestly, 25 minutes in the scheme of things for this pattern probably isn't a lot of time. I might top-stitch a pattern onto the shell before constructing the top; I haven't decided yet.
Tip #2: The legs are easy to sew on wrong. The background pieces are longer on the top than on the bottom, and I didn't notice and did it wrong the first time. I also had some trouble with the legs on one of my pieced-shell turtles. I didn't have trouble with the other three, so I think it was user error, but for me, those were the trickiest units to get the correct size (mine were too short).
Enjoy your Tony the Turtle blocks! And enjoy the rest of the Sew Along with Kathleen!


Four super cute sea turtles! I like how you simplified the shell into one piece--brilliant! Nice touch to add a photo of Coretta!
ReplyDeleteMy two turtles went together very well. I wondered the same about pieces F and G (I think that was the turtle shell letters). Clever idea, giving two of them solid shells!
ReplyDeleteYours turned out just fantastic.
ReplyDeleteI just love your turtles! The plain ones are really fun, too. I am so excited to see the different versions and love that you are doing 4sies. Your shell design could be the quilting too.... It will be so much fun to see them come together.
ReplyDeleteCute Tony the Turtle family ;)
ReplyDeleteThese turtles are so cute that you need to post a warning - Cuteness overload Ahead!!!
ReplyDeleteI see that the legs part can be confusing. But nothing you cannot conquer :-)